
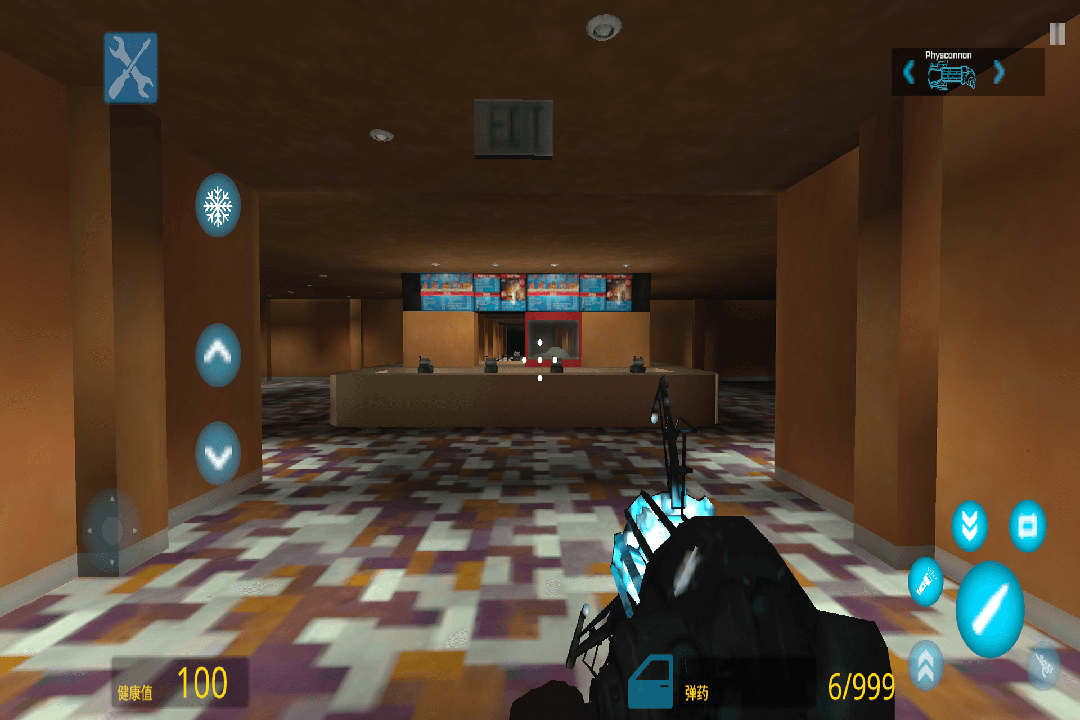
Don't rush around in the beginning. Check the resource boxes around the spawn point first. I tested 30 rounds, and on average I could get 2-3 pistols or shotguns in each round, but wooden sticks and iron pipes accounted for more than half, so the first thing I did when I went out was to find a metal workbench to upgrade weapons.
Weapon damage data (actual measurement, unofficial nominal)
Wooden stick: 5 points of damage. It takes 6 hits to hit ordinary zombies and 10 hits to hit heavily armored zombies. The efficiency is extremely low. It is recommended to only use it to knock boxes in the early stage.
Pistol: 25 points of damage, 1.5 times extra for headshots, 10-round magazine. The advantage is that it can change ammunition quickly, but the disadvantage is that it is easy to cut off the supply when dealing with groups of enemies. It is recommended to use it with A in the early stage and keep your distance.
Shotgun: A single shot of 5 fan-shaped projectiles, each with 15 points of damage. If it hits the face, it will be 75 points. It is an artifact for clearing mobs, but the firing rate is slow and the reload animation takes 2.6 seconds. It is easy to die suddenly when surrounded.
Flamethrower: Continuous damage, about 20 points per second, with burning effect (another 15 points will be deducted within 3 seconds). However, the fuel consumption is very fast, and one can can only be burned for 10 seconds. It is recommended to use it first in narrow passages or BOSS battles.
Grenade launcher: Explosion range 5 meters, basic damage 80 points, friendly damage. Don't use it around your teammates. I blew myself up twice before remembering it.
Terrain utilization is the core mechanism of this game. Each map has height differences and bunkers, such as the overpass in the industrial area map. If you stand on it to fight ground enemies, they will just stand there and get beaten because the AI will not take the initiative to jump onto the high platform. The ventilation ducts in the prison map can be drilled into, but enemies cannot enter. However, please note that there are randomly refreshed traps (electric shocks or spikes) in the ducts. It is recommended to throw a stone to explore the path first.
Resource recycling skills: The fixed refresh points of the toolbox are at the four corners of the map, and they are refreshed every 5 minutes. If you squat in a corner, you can cycle through the materials. But note that the refresh time of each box is independent. For example, if the box in the upper left corner is empty and the box in the lower left corner is refreshed, don't waste time running back and forth. A better approach is to build a small base, surround it with picked-up iron plates to form a semi-enclosed space, and move the workbench inside, so you don't have to worry about being attacked by a sneak attack.
Regarding the enemy mechanism, ordinary zombies will only chase in a straight line, while heavy-armored zombies will sprint (triggered within 3 blocks), and then stand hard for 2 seconds after sprinting. At this time, the output is the highest when going around and heading back. Witch zombies can poison from a distance. The poisonous fog lasts for 5 seconds. If you step into it, you will lose 15 blood every second, but the damage can be offset by a gas mask. Gas masks are regularly refreshed in the medical room, one at a time. It is recommended to get them first.
A common misunderstanding among novices: just press the shooting button as soon as you get the weapon, resulting in the bullet missing and being surrounded. The correct approach is to get stuck behind a bunker and wait for the enemy to come within range before firing. For example, the effective range of a pistol is 15 blocks, and the damage is reduced to 10 points after exceeding it. Also, be sure not to blow yourself up with a gasoline barrel. The explosion range is very large. I have seen people blow themselves up and die directly in a pool of blood.
Finally, let me talk about a secret tip: if you pick up an explosive barrel, you can push it to the intersection where the enemy must pass, and then hide in the distance and detonate it with a gun. The range damage can clear out most mobs. But be careful, there is a chance that the explosive barrel will be stepped on by the enemy, so stay away. The actual detonation distance is at least 10 blocks to be safe.
Okay, let's write this much first. If you find that a certain weapon has hidden attributes or a more efficient opening route, please add it below. I continue to test the new version of the map mechanism.