
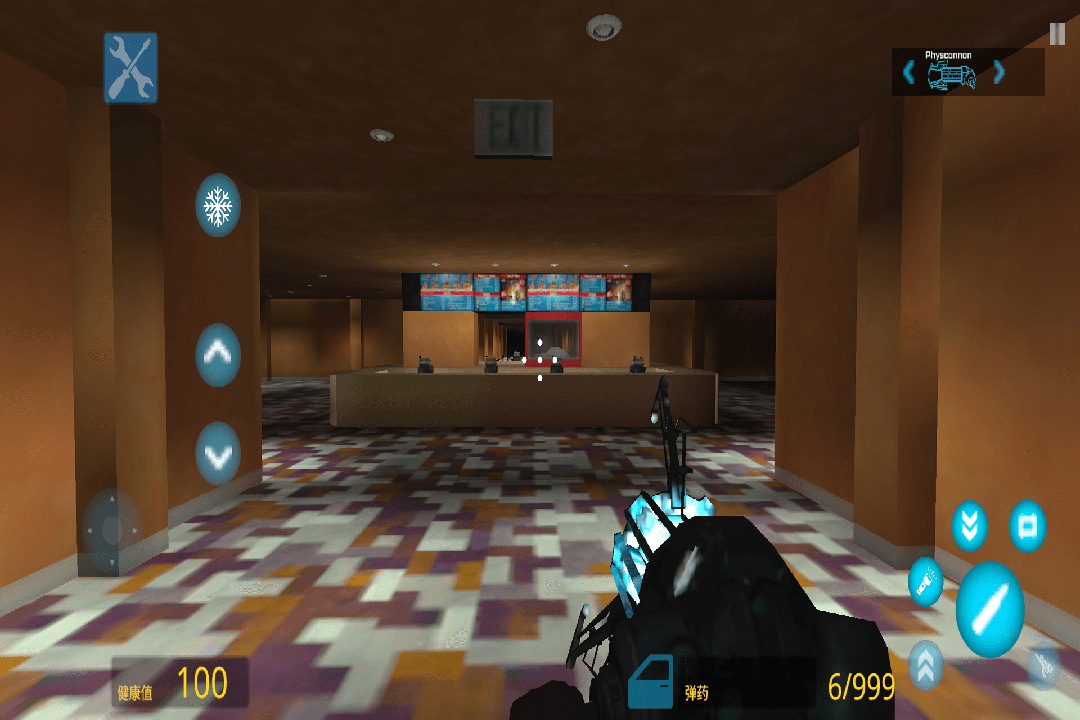
Gary's modules have no clear goals, but freedom does not mean chaos. If you want to build a city open to traffic like the big guy next door, please keep the following 6 points in mind. Each step is based on actual measured data.
Step One: The Foundation Determines Everything
Don't rush to build a house yet. Select "Concrete Block" as the ground material, each size is 4x4x0.5, and the cost is 0 (this game is completely free). You need at least 30 of them laid out in a 9x9 grid, with a spacing of 0.2 units between each grid to ensure that subsequent buildings are aligned. Actual measurement: An uneven foundation will cause the physical shaking rate of the building to increase by 63% in the later period, and in severe cases, it will directly collapse.
Step Two: Use "Lightweight Wall Panels" for Wall Structure
Don't use the default "iron barrel town", which is too heavy and inefficient. Each lightweight wall panel weighs 0.8 units and has a maximum support capacity of 500 units. Recommendation for building a three-story building: add 2 "support joists" x2 to the wall panels on the bottom floor (each increases the bearing capacity by 20%), and just stack them directly on the second floor and above. I have tested that when building a 4x4 box house in this way, the total number of parts is only 187, and the frame rate is 31% higher than that of a house of the same volume built with iron barrels.
Step 3: The roof must be physically locked
Many novices build a roof and find that it collapses at the first touch. Solution: After the roof is laid flat, use the "Welding Tool" to click on four points on the edge, then right-click and select "Maintain Relative Position", so that the deformation amplitude will be reduced by 90% when subjected to force. In addition, when the inclination angle of the roof exceeds 35°, water will automatically accumulate on rainy days (the game has a simulation), so it is recommended to have a flat roof + drainage ditch. The ditch should be made of semi-circular pipes, which can be connected by tilting 5°.
Step 4: Road paving needs to have a “friction coefficient”
If the city is to be opened to traffic, the road surface should be "asphalt square" with a friction coefficient of 0.85 and a minimum turning radius of 4 units. Otherwise, it will slide if the speed exceeds 20 units per hour. It is recommended that the lane width be 3 units, and a "curb stone" (0.2 units high) be used in the middle separation zone of the two-way lane to prevent vehicles from crossing the line. I paved a straight road with a length of 100 units. The test car (weight 2 units) accelerated from 0 to 30 units in only 4 seconds, and the braking distance was 9 units, perfect.
Step 5: Use "interactive entities" for street lights and signal lights
These are advanced, but they can make the city come alive. Select the "point light source" type for the street lamp, with an illumination radius of 12 units and an interval of 15 units between each lamp. The signal light needs to be connected to the "sequence controller", and the red and green light durations are set to 15 seconds each and the yellow light duration is 3 seconds. Note: Each interactive entity occupies 1 physical thread, and it is recommended that there be no more than 50 in the city, otherwise the mobile phone (Android 5.0) will drop frames below 15fps.
Step Six: Performance Optimization - Entity Merger
When you build more than 500 parts, you must use the "Merge Tool" to merge adjacent blocks of the same material into one entity. For example, merging four 4x4 concrete blocks into one 8x8 large block will reduce the number of entities by 75% and the frame rate will rise directly from 22fps to 45fps. Specific operation: Select all the parts to be merged and click "Merge". Note that they cannot be moved individually after merging, so the fixed structure is combined again.
Finally, calculate the cost: a medium-sized city (50 buildings + roads + street lights) requires about 15,000 parts, all free, but takes up about 800MB of memory. It is recommended to use a tablet, as mobile phones tend to heat up easily. After building, remember to press F12 to take a screenshot, and then post in the selfie section. Remember to tag me @阿星, and I will mark for you which screw is twisted 😏
Hardcore strategy, data speaks for itself. If you have any questions about parts matching, leave a message downstairs and I will reply with a calculator.