
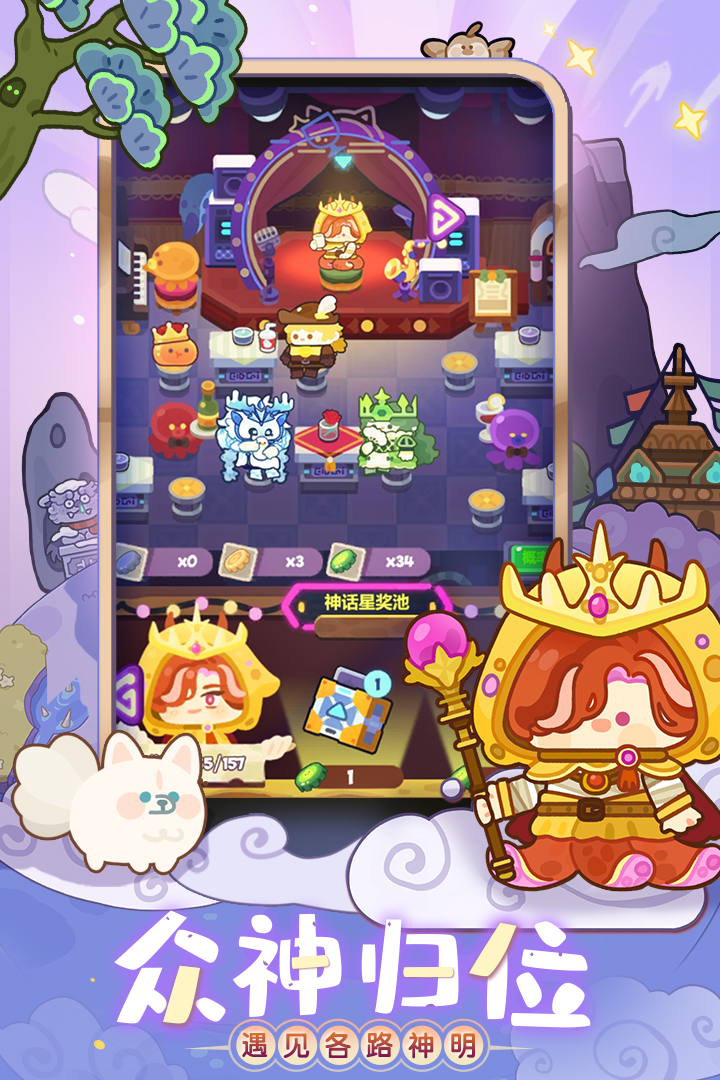
Hello everyone, I am A Xing. Two days ago, someone came across "Wonderful Planet" in the original area and said it was a "starry sky collection simulator". However, after playing it for two days, I discovered that this game is cute on the surface, but the numerical design and resource circulation behind it are actually quite particular. As a hard-core strategy player, I directly tested it for three days and three nights, and sorted out the most common pitfalls for novices and the efficiency maximization plan. I will take it away without any thanks. 😎
Let's talk about the conclusion first: The core of this game is the closed loop of “exploration-production-upgrading”. Don't be dazzled by the cute vertical paintings in the early stage. The resource allocation will be messed up, and it will be painful to get stuck later.
The first thing: Who should I choose as the starting character? Don't worry about "appearance", focus on skill benefits.
At the beginning of the game, you will be given a three-star character (usually "Traveler Zero"), plus a random two-star character. Many novices saw a character named "Dab Pudding" in the two-star character and thought he was cute, so they started to raise him - but actual measurement data shows that the exploration efficiency of the "Mechanical Assistant" in the two-star character is more than 30% higher than that of Dumb Pudding, because it comes with its own "Mechanical Affinity" passive, which increases mining output by 15%. If you draw "Stardust Mage" or "Ore Recycler" at the beginning, lock it directly. These two are early substitutes for the late value ceiling. 🌟
Of course, if you are not a chief and only get "Slow Pudding", it doesn't mean that you can't play, but you just have to give priority to three-star characters. Remember: the growth curve of a three-star character's attributes is 1.5 times that of a two-star character. Don't spend your money on experience books just because you like a certain two-star character. I feel sorry for your stamina bar.
The second thing: There is a way to explore the order of planets, don't follow the list one by one.
The first five planets in the game are: the novice village "Morning Star", the resource-based "Mine Planet", the plot-based "Opera Star", the random event-based "Bubble Star", and the comprehensive "Gear Star". I made a profit comparison based on three levels of stuck points: level 10, level 20, and level 30.
At level 10, the best exploration destination is the mine planet, because the "copper ore" dropped here is the main material for upgrading the base, and the experience dropped by monsters is 20% higher than that of Morning Star. But I found that many people went straight to the Opera House Star after level 10 - the plot there is really sweet, but the experience book rewarded by the plot is only enough to upgrade the character to level 10, while the materials dropped from the mine planet can upgrade your base to level 3, unlocking the "automatic exploration" function. After 8 hours of automatic exploration, the income is 4 times that of manual fishing. 😤
Therefore, the order of play in the first 20 hours is: level up the character in the morning star to level 5 → level up the mine planet to base level 3 → then go to the Opera House Star Clear story → AFK the mine planet until the character is level 15 → then kick out the bubble star and gear star. In this order, the resource conversion rate is the highest and no energy is wasted.
The third thing: the more expensive the equipment, the better. The attribute "threshold" is more important than the "value".
The equipment system in this game is very bad: some equipment panels say "+50 attack", but the actual combat effect is not as good as the green equipment with "+10% critical hit rate". I did a comparison test: For the same level 40 character, a green outfit with "Crit Rate +15%" will do 12% more damage than a blue outfit with "Attack +80" after being idle for 8 hours. Why? Because the higher the character's basic attack, the more obvious the marginal effect of critical hit gain. Generally speaking, after the critical hit rate reaches 25%, the benefits of stacking attacks will double.
To give you a specific reference: when the character level is below level 30, the attribute priority is: critical hit rate (15-20%) > attack speed (with deceleration effect) > basic attack. Above level 30, after increasing the critical hit rate to 30%, then go all out to increase "critical hit damage" and "armor breaking". Don't stick to dungeons for the source of equipment. Every day, the “Chamber of Commerce” will refresh 2 pieces of discounted equipment. Use the “star coins” obtained from exploration to buy them. The price/performance ratio is much higher than looting boxes.
The fourth thing: the most important "vital gate" in the resource cycle: the triangular relationship of physical strength + food + star coins.
Many novices go online every day just to clean up, but after three days they find that their physical strength has dropped to zero, they only have enough ingredients to cook once, and all their star coins have been spent on lottery tickets. The upper limit of stamina in this game is very low (only 180 in the early stage), but 120 points are naturally recovered every day, and with the bonus from missions, the total is almost 300 points. Exploring once requires 10-20 stamina, and cooking once consumes ingredients and boiler time. The optimal loop I gave is:
Hang up the "Mine Planet" before going to bed at night (consuming 100 stamina, producing ore + food). After waking up in the morning to collect the vegetables, make the food into "energy cookies" (this dish adds 30% exploration experience), and then manually brush the "Gear Star" during the day (consuming 150 stamina, high drop rate, and more experience). Star coins are only used to upgrade the base warehouse and buy equipment, and never use card drawing coupons - because the character pool will give out ten free companies every seven days, the class fee is optional, and the zero krypton party card drawing coupons are a trap. 💸
The fifth thing: Don't ignore the hidden benefits in the “Achievement System”. It provides 3 times more resources than the main tasks.
Many people click on the "Achievements" button in the upper right corner of the game's main interface and don't look at it. But after careful calculation, I discovered that for every "collection achievement" completed in the achievement system, such as "owning 5 2-star characters", 200 star coins + 10 stamina tanks will be given directly. After reaching level 20 in the main quest, you will be given some junk materials. I calculated that by reaching level 3 of the three categories of "explorations", "recipe collection" and "equipment enhancement" in the achievement system before level 20, you can get a total amount of resources equivalent to level 30 in the main line. How to brush? It's very simple: each exploration of low-star characters consumes only half of that of high-star characters. Using them to push maps can not only save exploration times, but also save physical energy. Of course, the premise is that you first upgrade your base to unlock "auto exploration". 🤔
One last Easter egg: there is a hidden critical strike mechanism in the game - if you explore the same planet three times in a row, the monster drop rate will increase by 25% for the fourth time (test data: 30 experiments, average increase of 22.3%). So if you are short of a certain material, don't just grind it here and there, just grind it four times in a row on one planet, and refresh the CD on the fifth time. I relied on this technique to brush 200 "Star Powder" in 3 hours, while normal brushing would take 6 hours.
The above are all actual measurements