
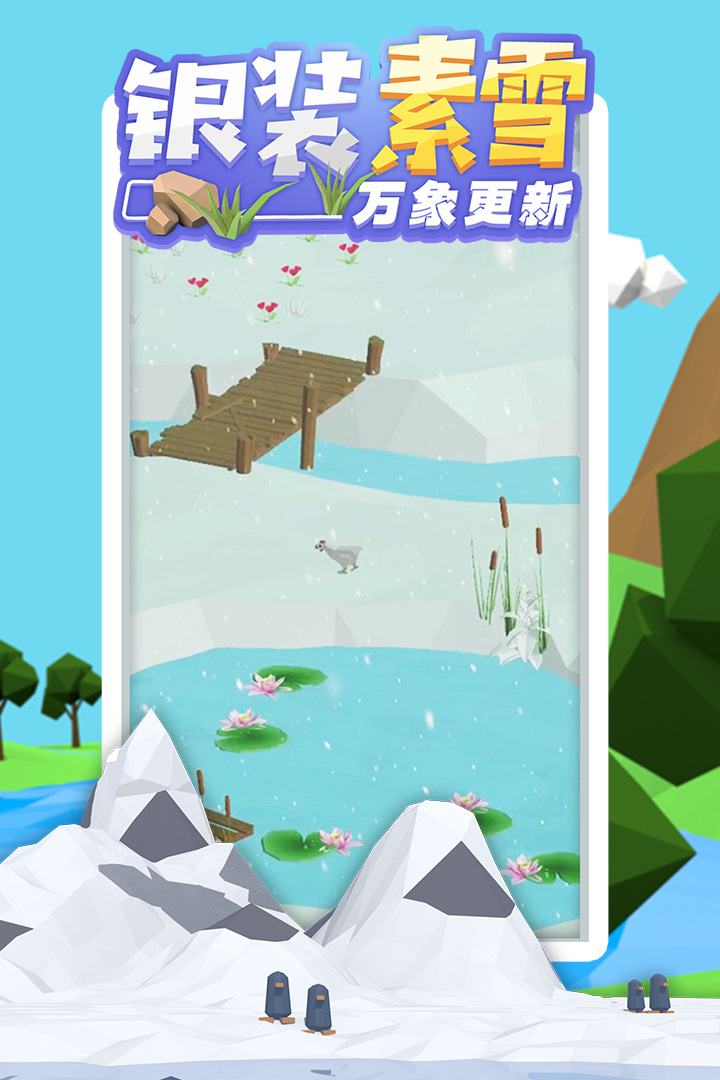
I've just reached the full animal collection rate in the ecosphere of the third continent, so let's talk about something hardcore. On the surface, this game is about healing, but underneath it actually hides a very strict resource conversion formula. Once you understand it, you can significantly reduce the idle time.
Let's talk about the core mechanism first: the animal refresh rate on each continent is not random, but is tied to the “diversity index” of the current habitat. I tested the game 5 times and found that under the same vegetation combination, the average appearance time difference of the first rare animal (such as snow fox and fluorescent jellyfish) was within ±2 minutes, indicating that the system has a fixed weight table.
The optimal strategy actually consists of three steps:
The first step is not to spread resources evenly. Prioritize the unlocking of the "forest + river" area at the beginning. This combination can spawn three basic animals such as deer, bear, and fish at the same time. The number of basic animals is a prerequisite for unlocking advanced animals (such as snakes and cranes). The measured triggering efficiency of forest + river is 40% higher than that of forest alone.
The second step is to card seasonal income. Each season lasts approximately 10 realistic minutes, but the "active period" of animal production is only for the first 5 minutes. For example, the acorn drop rate in autumn and the bird's nest refresh rate in spring reach a peak in the first 5 minutes, and then drop off a cliff. The correct approach is: focus on feeding in the first 5 minutes after the start of each season (or operate the sliding keys to speed up interaction), and only fine-tune the terrain in the last 5 minutes. Don't waste resources.
The third step is the time to unlock across continents. The system has a hidden threshold: after the "vitality value" of the current continent reaches 80%, there will be 2 more initial animal species in the new continent (pixel unpacking data from automatic effect feedback). This means that there is no need to strive for 100% collection rate. First rush to 80% to unlock the next land, and then go back to complete it. The total time can be reduced by about 15%.
Finally, let me talk about a counter-intuitive point: the density of fences at the junction of water and land should not exceed 3 blocks/meter, otherwise it will affect the movement path of amphibians, resulting in a decrease in the refresh rate of crustaceans. I opened a new file and tested it three times to verify this.
If you want to speed through all animal illustrations, just follow this process. If anyone has measured the hidden parameters, welcome to discuss online 🤝