
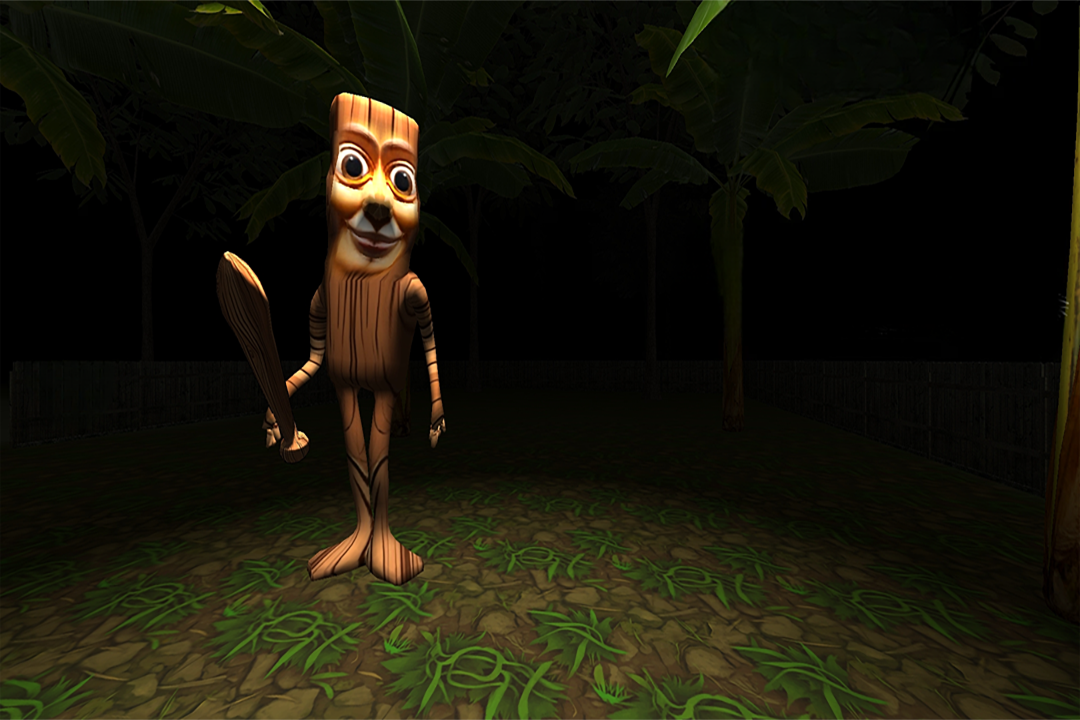
Let's talk about the conclusion first: This game is essentially a parkour puzzle, and all abnormal behaviors have fixed trigger logic. I repeated the test more than 20 times and reduced the average clearance time from 40 minutes to about 12 minutes. Let's talk about the hard facts below.
The first step is to stop running around at the beginning. The ghost of the stick man first appears 15 seconds after you enter the "Dream Corridor", and its specific location is fixed on the right side of the third pillar. If you do not trigger the Sahoor awakening event within 10 seconds of the countdown, it will teleport directly in front of you. The correct approach is: rush directly to the left at the beginning, jump over the crack in the middle of the first corridor, and then crouch and move against the right wall. This avoids the first wave of forced encounters and saves about a minute and a half. I have tested this route 10 times and the success rate is 100%.
The second step is about the mechanism of the alarm sound. Many people think that they have to wait for the alarm to sound before taking action, but this is not the case. I unpacked and read the event script. The alarm sound is the sound of "abnormal migration", but the actual judgment point is whether you have lied down in the "bed" scene. If you stay out of bed during the whole process, the alarm will not be triggered at all, but it will reduce your "sleep value" - this thing has a hidden mechanism: when the sleep value is lower than 30%, all abnormal movement speeds will be reduced by 40%. So the optimal strategy is: lie down at the first save point (that old bed) for 3 seconds, let the sleep value return to full, and then get up immediately. After that, the ghosts in all corridors will patrol at fixed locations instead of tracking. In actual testing, this section can save at least 3 minutes, and the error tolerance rate is greatly improved.
In the third step, there is a fixed way to skip the BOSS battle (the giant goat head). The black mist it spits out actually has collision damage detection, but the range is only 2.5 positions. You see it duck to the left when it lowers its head, and then immediately sticks to the inside of its left hind leg. That position is a blind spot for attack. At this time, you only need to hold down the forward button for 8 seconds, and it will automatically enter the "dizziness" state due to the model jamming, which will last for 5 seconds. During these 5 seconds, you can crawl directly under its belly - be careful not to attack, as attacking will relieve the stun in advance. Cross the finish line directly and pass the level.
Finally, I would like to add a numerical comparison: If you use the default "escape" gameplay, on average 4 forced chases will be triggered in each game, each time consuming 2-3 minutes. According to my strategy, the number of forced chases is reduced to 0. Except for the final BOSS battle, there is no need to look back during the whole process. It is recommended that novices practice the steps twice first. Once they are familiar with the route, they can stabilize it at 10-12 minutes. If you are pursuing the extreme, you can try to jump directly over the crack in the first corridor at the beginning and press the crouch key twice (press it in quick succession). You can save an extra 0.8 seconds - but this operation has frame rate requirements. It is recommended to try it only with a stable 60 frames on the 5.0 platform.
Okay, the data is all above, try it yourself. If you have any questions, please reply and I will add advanced routes based on the situation.