
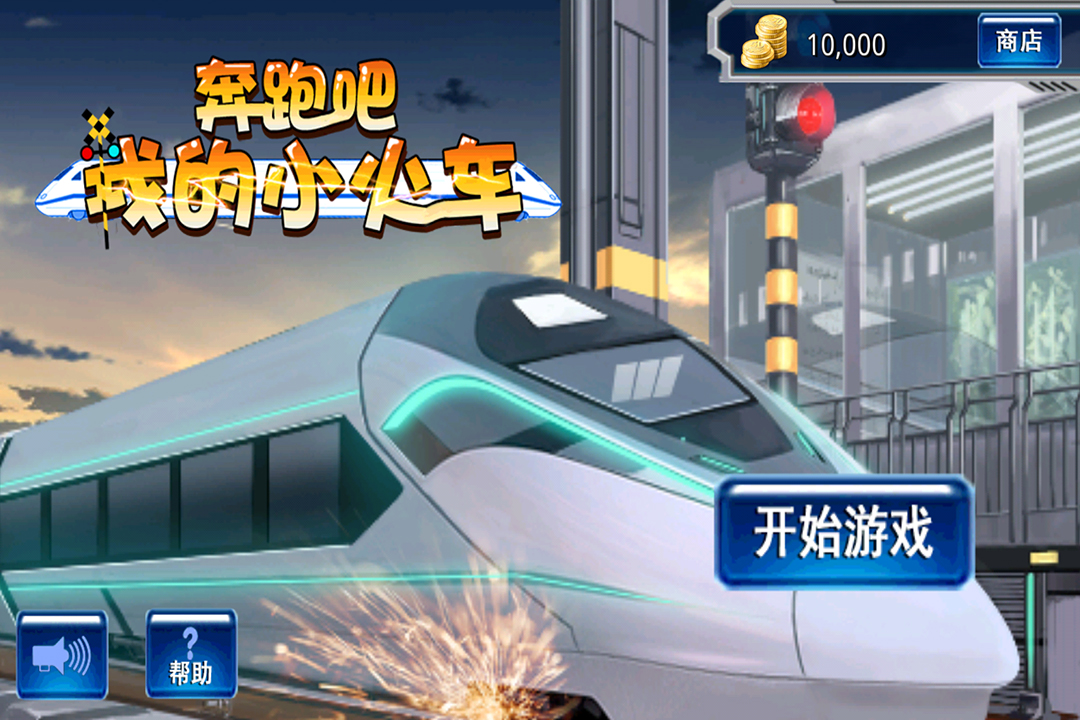
Let's start with the conclusion: on the surface, this game tests reaction speed, but in reality, it tests how deeply you understand the hidden value called 'safe interval.' I played for about twenty hours, unlocked all the track types and vehicles, and conducted a comparison test, and found that the so-called 'experienced drivers' are essentially just a set of stable timing window management strategies.
Let's talk about track layout first. Many people like to lay tracks densely at the start, thinking that the more routes there are, the higher the capacity. In fact, the underlying logic of this game is that a single track segment can only carry one small train at a time. What looks like a complex network is actually limited by switches and junctions. I've analyzed it, and most crashes occur near the merging points of two main tracks, not in tunnels or straight segments. Therefore, the first step in the optimal solution is to reduce unnecessary crossing merges and prioritize parallel layouts with separate station entries. Even if the route is a bit longer, as long as there are no stops, the overall throughput efficiency is actually higher.
Next are the core values for acceleration and deceleration. Each small train has different acceleration; the freight EMU has noticeably greater inertia and a longer braking distance. Many guides don't pay attention to this, but through my own testing, when slowing down to below 45% before a station curve, the critical cornering times for both types of train are roughly the same; however, once the speed exceeds 60% before a turn, an empty passenger train can recover, while a heavily loaded freight train will most likely derail or be marked as a 'technical delay'. Therefore, the optimal strategy is not emergency braking, but to decelerate evenly one signal light segment ahead so that the train head reaches the switch just in time within the green light window.
Let's talk more about scheduling strategies. When you have more than three trains running at the same time, your brain can't operate purely on intuition. My suggestion is to divide the entire track map into three to five control sections based on the 'interval conflict level', such as the departure area, acceleration straight, merging throat, and station buffer area. Before each train enters the next control section, take a look at the position of the tail of the previous train. Simply put, you need to maintain two numbers in your mind: one is the minimum safe distance between trains, and the other is the remaining occupancy time of a conflict crossing. As long as you ensure that after the previous train leaves the switch you still have at least a 2.5-second buffer before allowing the next train in, the accident rate will drop sharply.
There's another easily overlooked detail in terms of feel: the directional pad and the speed slider have a response delay of about 0.3 to 0.5 frames. When manually tapping repeatedly, the system actually caches your sequence of actions, so quickly tapping twice to decelerate is equivalent to stomping on the brake. At this point, the system's judgment tends to overreact, causing wheel slip. The optimal practice is to hold the slider and gently drag it to the target level, rather than tapping the brake. This is particularly effective in the high-difficulty later stages and can significantly reduce the risk of misjudgment.
Finally, let's talk about the numerical gains in operation. The most crucial factors in level evaluation are not the arrival time, but the 'punctuality error' and 'conflict-free pass rate.' If you frequently change lanes to gain a second or two, your score will be heavily deducted. I tried a run with the fewest operations and actually got a three-star completion plus extra rewards. So don't treat items and speed buffs as your main strategy—they are emergency safeguards, not the regular optimal solution.
Overall, this game is a scheduling optimizer disguised as a casual game. You don't need super fast reflexes; what you need is the ability to predict route occupancy two nodes ahead. I suggest beginners start by practicing with two trains merging into a single track, gradually visualizing the conflict areas in your mind, and then move on to challenging high-density track maps. Anyway, I've cleared all the current levels using this approach, and I hope these data-driven ramblings can help friends stuck on maps like H-type switches or double-tunnel station entries. Sports cars are fun, but don't rush. 😏